A Step-by-Step Guide to Setting Up Your New Frontier Internet Modem
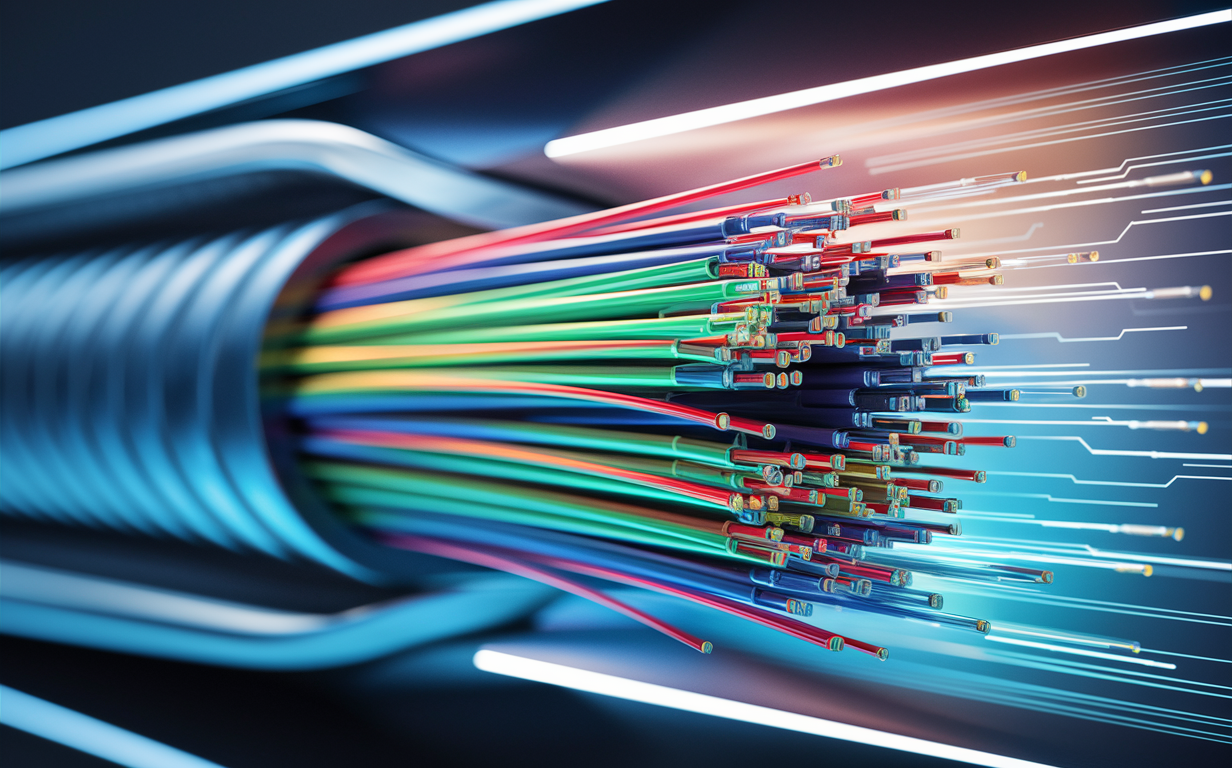
Congratulations on choosing Frontier Internet! Whether you’ve opted for Frontier’s blazing-fast fiber-optic service or its reliable DSL connection, setting up your new modem is the first step to enjoying seamless internet access. As of April 07, 2025, Frontier provides customers with high-quality equipment, like the Amazon eero Pro 6E for fiber plans or a DSL modem/router combo, all included at no extra cost. But how do you get it up and running? Don’t worry—this step-by-step guide will walk you through the process, from unboxing to connecting your devices, so you can start browsing, streaming, or gaming in no time. Let’s dive in!
What You’ll Need Before You Start
Before you begin setting up your Frontier modem, gather a few essentials to make the process smooth:
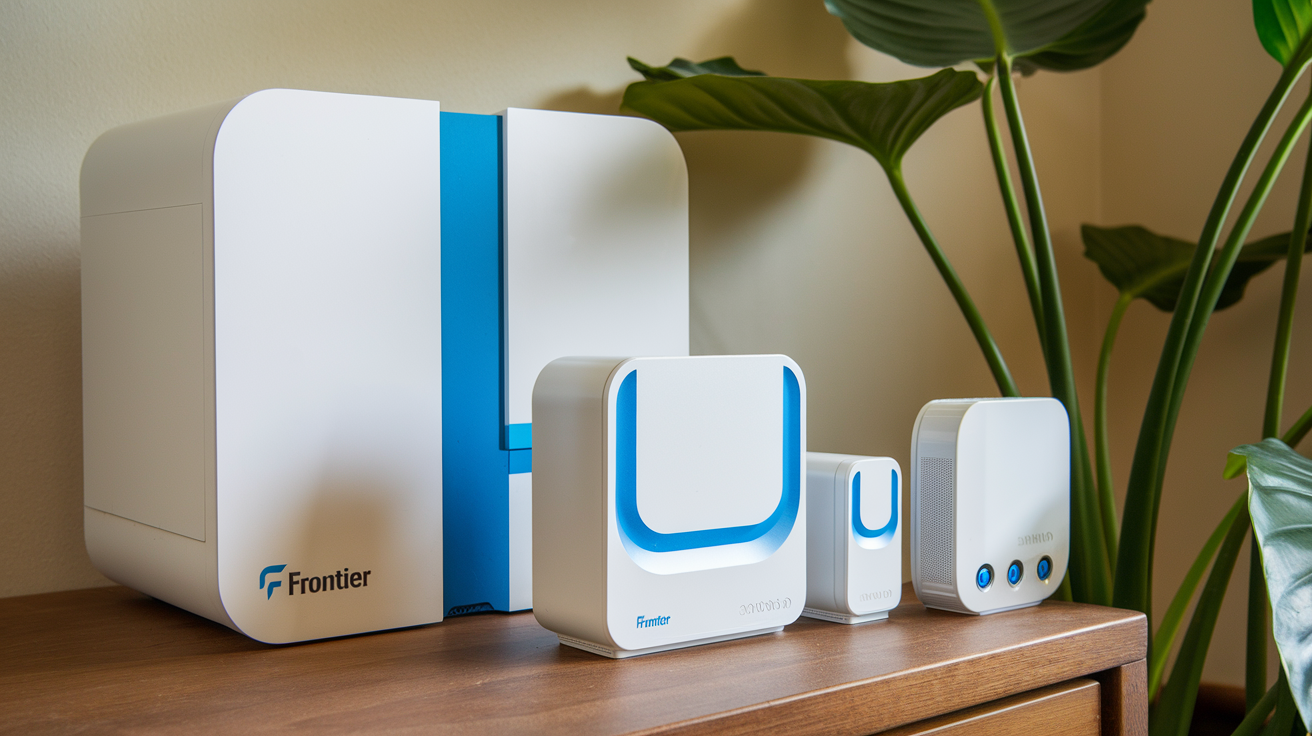
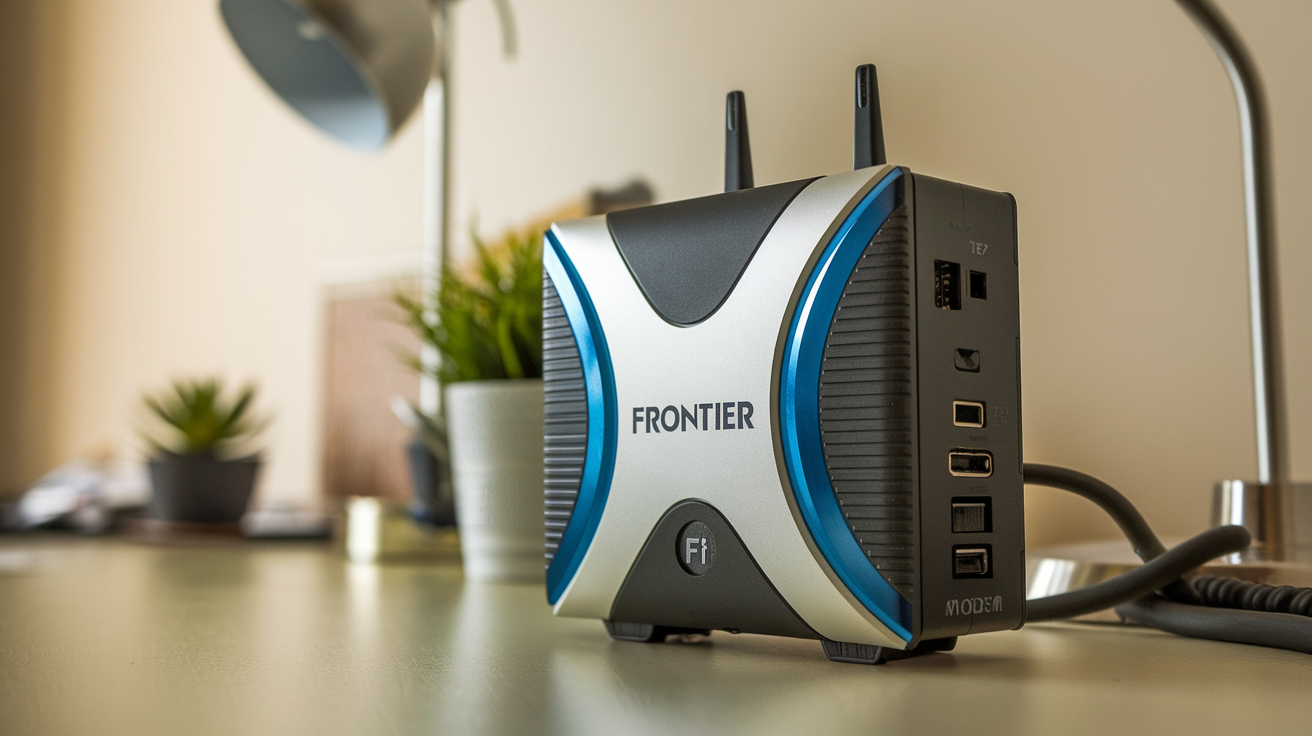
- Your Frontier Modem/Router: This should arrive with your service activation or be delivered if you’re a new customer. Fiber customers typically receive an Amazon eero Pro 6E (or TP-Link Archer AXE300 6E for 5 Gig/7 Gig plans), while DSL users get a modem/router combo.
- Frontier Welcome Kit: Includes your account details, activation date, and any setup instructions specific to your plan.
- Cables: For fiber, you’ll need an Ethernet cable (often included). For DSL, you’ll need a phone line cable (also typically provided).
- A Device: A smartphone, tablet, or computer to configure the modem and test the connection.
- Power Outlet: Ensure you have a nearby outlet for the modem’s power adapter.
- Optional Tools: A small screwdriver (for DSL wall jack filters, if needed) and patience!
Once you’ve got everything ready, you’re set to begin.
Step 1: Unbox and Inspect Your Equipment
Start by unboxing your Frontier modem. Inside, you should find:
- The modem/router unit
- A power adapter
- An Ethernet cable (for fiber) or phone line cable (for DSL)
- Quick-start guide or setup instructions
Check for any visible damage to the equipment. If something looks off, like a bent port or frayed cable, contact Frontier support at 1-855-559-8397 before proceeding. Assuming all is well, place the modem in a central, well-ventilated spot in your home. Avoid cramped spaces or areas near heat sources, as good airflow helps maintain performance.
Step 2: Connect the Modem to Your Internet Source
The connection process differs slightly depending on whether you have Frontier Fiber or DSL. Here’s how to handle each:
For Frontier Fiber Customers
- Locate the Fiber Wall Jack: Find the Optical Network Terminal (ONT)—a box installed by Frontier, usually on an interior or exterior wall. It converts the fiber signal into something your modem can use.
- Plug in the Ethernet Cable: Connect one end of the Ethernet cable to the red WAN port on the ONT (labeled “Internet” or similar). Plug the other end into the WAN/Internet port on your modem (often marked with a globe icon on the eero).
- Power Up: Attach the power adapter to your modem and plug it into an outlet. The lights on the modem should start blinking—typically a solid white or green light on the eero indicates it’s powering on.
For Frontier DSL Customers
- Find the Phone Jack: Locate an active phone wall jack where your DSL service is delivered.
- Install a DSL Filter (if needed): If you have a landline phone sharing the jack, plug a DSL filter into the wall, then connect the phone line cable from the filter’s “DSL” port to your modem’s DSL port (usually gray or green).
- Connect the Modem: If no filter is needed, plug the phone line cable directly from the wall jack to the modem’s DSL port.
- Power On: Connect the power adapter to the modem and plug it in. Look for a DSL light (often green) to confirm it’s syncing with the line.
Step 3: Wait for Activation
Once powered on, your modem needs a few minutes to connect to Frontier’s network. This can take 5–15 minutes, depending on your service type:
- Fiber: The eero’s light should turn solid white (or green on some models) when connected.
- DSL: Watch for a steady DSL and Internet light (usually green).
If the lights don’t stabilize—blinking red or amber after 15 minutes—double-check your connections. Still no luck? Your service might not be activated yet. Confirm your activation date in your Welcome Kit or call Frontier to verify.
Step 4: Set Up Your Wi-Fi Network
Most Frontier modems double as Wi-Fi routers, so you’ll need to configure your wireless network. Here’s how:
Using the Frontier App (Fiber Customers with eero)
- Download the App: Install the eero app from the App Store (iOS) or Google Play (Android).
- Sign In: Open the app and log in with your Frontier account credentials (found in your Welcome Kit or email).
- Follow Prompts: The app will detect your modem and guide you to name your Wi-Fi network (SSID) and set a password. Choose something memorable but secure, e, “HomeNet2025” with a mix of letters, numbers, and symbols.
- Save Settings: Once saved, the modem will broadcast your new Wi-Fi network.
Manual Setup (DSL or Older Models)
- Connect to the Modem: Use a computer or phone to join the default Wi-Fi network (name and password are on a sticker on the modem—e.g., “Frontier1234”).
- Access Settings: Open a browser and enter the modem’s IP address (often 192.168.1.1 or 192.168.0.1—check the manual or sticker).
- Log In: Use the default admin username and password (also on the sticker, like “admin/admin”).
- Customize Wi-Fi: Navigate to the wireless settings, set your network name and password, then save and reboot the modem.
Step 5: Connect Your Devices
With Wi-Fi active, connect your devices:
- On your phone or laptop, search for your new network name in the Wi-Fi settings.
- Enter the password you set.
- Test the connection by loading a website or streaming a video.
For wired connections (like gaming consoles), plug an Ethernet cable from the modem’s LAN ports to your device.
Step 6: Troubleshoot Any Issues
If you hit a snag, try these fixes:
- No Internet: Restart the modem by unplugging it for 30 seconds, then plugging it back in.
- Slow Speeds: Ensure the modem isn’t near interference (microwaves, cordless phones). For DSL, test a different phone jack.
- Wi-Fi Not Showing: Confirm the modem is in router mode (not bridge mode) via the app or settings.
- Still Stuck? Call Frontier support or check their online troubleshooting at Frontier.com/helpcenter.
Step 7: Optimize Your Setup
To get the most out of your Frontier Internet:
- Positioning: Place the modem centrally and elevated for better Wi-Fi coverage.
- Firmware Updates: The eero app auto-updates fiber modems; for DSL, check the admin settings periodically.
- Security: Use WPA3 encryption (if available) and a strong password.
Final Thoughts
Setting up your new Frontier Internet modem is straightforward once you know the steps. Whether you’re plugging into a fiber ONT or a DSL phone jack, this guide ensures you’re online quickly and hassle-free. From unboxing to streaming your favorite show, you’re now ready to enjoy Frontier’s service, be it the ultra-fast Fiber 7 Gig or reliable DSL. Need more help? Frontier’s support team is just a call away. Happy surfing!
Dial (844) 340-6366 to Get Frontier Internet Connection Today!