The Ultimate Guide to Frontier Router Settings for Optimal Performance
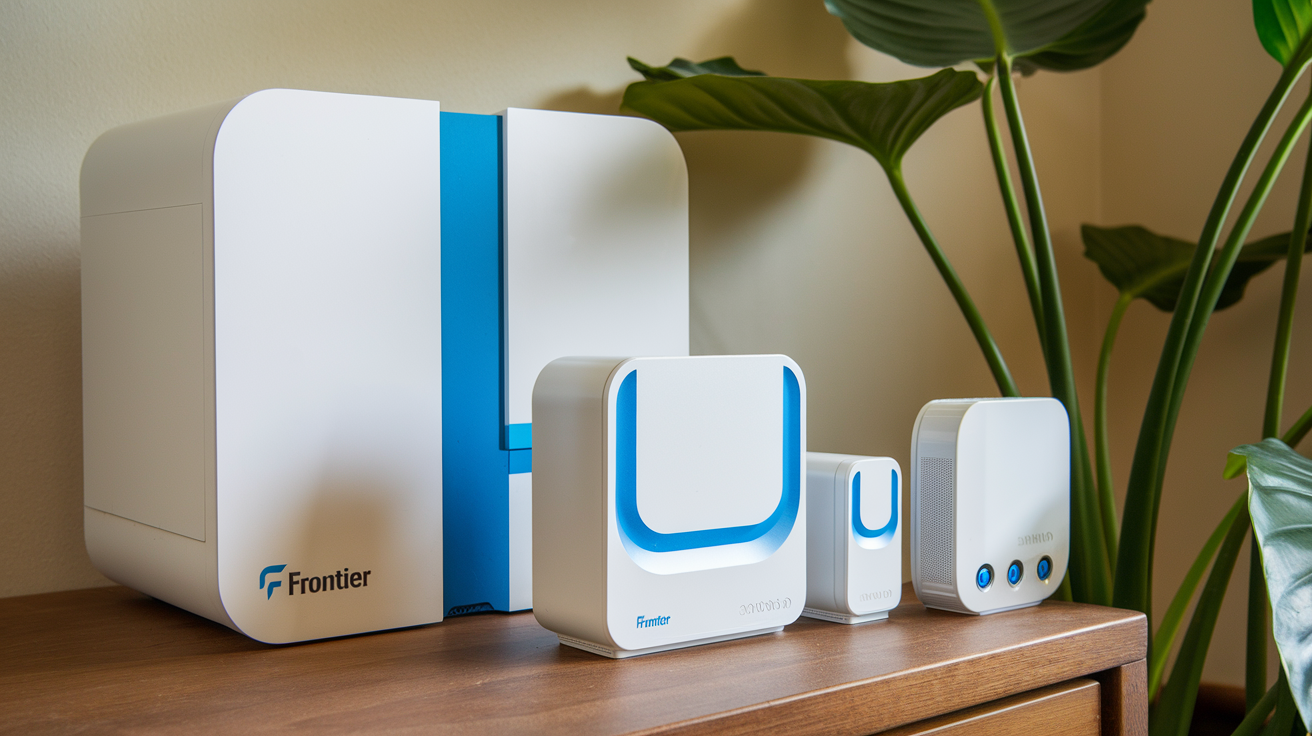
If you’re a Frontier Internet customer, you’ve likely got one of their routers, like the Amazon eero Pro 6E or TP-Link Archer AXE300, powering your home network. These devices come included with your plan, whether you’re on a blazing-fast Frontier Fiber connection or a DSL setup. But here’s the thing: out of the box, your router might not be optimized for your specific needs. Tweaking your Frontier router settings can boost speed, improve coverage, and ensure a seamless experience for streaming, gaming, or working from home. In this ultimate guide, we’ll walk you through the essential settings to adjust for peak performance as of April 2025. Let’s dive in!
Why Optimize Your Frontier Router Settings?
Frontier provides solid routers with their plans, but default configurations are designed for the average user. Your household might have unique demands, like multiple 4K streams, a smart home with dozens of devices, or a gamer needing low latency. Adjusting settings like Wi-Fi channels, security protocols, and Quality of Service (QoS) can make a big difference. Plus, with Frontier’s no-data-cap policy, you’re free to push your connection to the limit—so why not make sure your router is up to the task?
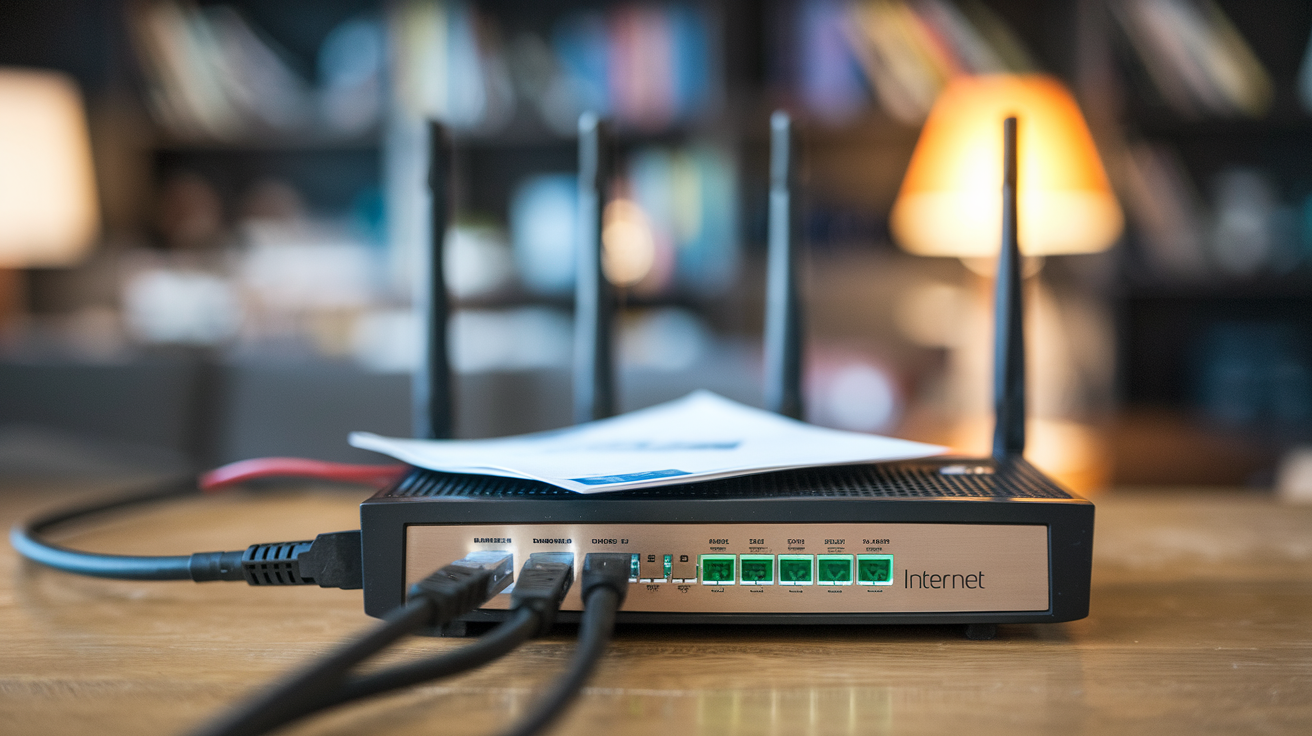
Step 1: Accessing Your Frontier Router Settings
Before you can tweak anything, you need to log into your router’s admin panel. Frontier uses app-based management for its modern routers, but some older DSL models might still rely on a web interface. Here’s how to get started:
For Amazon eero Routers (Fiber Plans)
- Download the eero App: Available on iOS and Android.
- Sign In: Use the email and password you set up during installation. If you’re new, follow the app’s prompts to connect your router.
- Access Settings: Once logged in, you’ll see a dashboard with options like Network Settings, Guest Wi-Fi, and more.
For TP-Link Routers (Higher-Tier Fiber Plans)
- Download the TP-Link Tether App: Free on iOS and Android.
- Log In: Connect to your Wi-Fi network, then sign in with your TP-Link ID or create one.
- Navigate: The app offers a user-friendly interface for adjustments.
For Older DSL Routers (Web Interface)
- Connect to Wi-Fi: Use a device on your network.
- Open a Browser: Enter the router’s IP address (often 192.168.1.1 or 192.168.0.1—check the label on your router).
- Log In: Default credentials are typically “admin” for both username and password, unless changed during setup.
Once you’re in, you’re ready to optimize!
Step 2: Optimize Wi-Fi Settings
Your Wi-Fi performance hinges on a few key settings. Here’s how to fine-tune them:
Choose the Right Band (2.4 GHz vs. 5 GHz vs. 6 GHz)
- 2.4 GHz: Best for range but slower speeds. Use it for devices far from the router.
- 5 GHz: Faster speeds, less range. Ideal for streaming or gaming near the router.
- 6 GHz (eero Pro 6E or TP-Link AXE300): Ultra-fast and less congested, but only works with compatible devices.
Tip: If your router supports band steering (combining bands under one network name), enable it in the app for seamless switching. Otherwise, create separate SSIDs (e.g., “MyWiFi-5G” and “MyWiFi-2.4G”) and connect devices manually.
Adjust Gutter Selection
Wi-Fi channels can get crowded, especially in apartments or dense neighborhoods. Most Frontier routers auto-select channels, but you can override this:
- 2.4 GHz: Use channels 1, 6, or 11 (least overlap).
- 5 GHz: Pick a non-DFS channel (36, 40, 44, etc.) to avoid interference.
- 6 GHz: Less congestion here, so auto-selection usually works fine.
In the eero or TP-Link app, look for “Channel” or “Advanced Wi-Fi” settings to adjust manually. Use a Wi-Fi analyzer app (like NetSpot) to spot interference first.
Set Channel Width
Wider channels mean faster speeds but more interference risk:
- 2.4 GHz: Stick to 20 MHz for stability.
- 5 GHz: Use 40 MHz or 80 MHz for speed boosts.
- 6 GHz: Go for 160 MHz if your devices support it (common on newer laptops and phones).
Find this under “Wireless Settings” and experiment to balance speed and reliability.
Step 3: Enhance Security Settings
A secure network isn’t just about safety—it also prevents bandwidth hogs like unauthorized users. Here’s what to check:
Update Your Wi-Fi Password
- Default passwords are easy to guess. In the app, go to “Network Settings” or “Wi-Fi Settings,” then set a strong password (12+ characters, mix of letters, numbers, and symbols).
- Pro Tip: Avoid using personal info (e.g., “JohnsWiFi2025”).
Enable WPA3 Encryption
- Frontier’s newer routers support WPA3, the latest security standard. Switch from WPA2 to WPA3 in the security settings for better protection.
- If older devices won’t connect, use “WPA3/WPA2 Transitional” mode.
Disable WPS
- Wi-Fi Protected Setup (WPS) is convenient but vulnerable. Turn it off in the app under “Advanced” or “Security” to block easy hacks.
Step 4: Prioritize Devices with QoS
Quality of Service (QoS) lets you prioritize bandwidth for critical devices—like your gaming PC or work laptop. Here’s how:
On eero Routers
- eero doesn’t offer traditional QoS, but its “Optimize for Conferencing and Gaming” feature (under eero Labs) prioritizes low-latency traffic. Enable it if you’re a gamer or Zoom user.
On TP-Link Routers
- Go to “QoS” in the Tether app, enable it, and assign high priority to specific devices by MAC address. Set bandwidth limits for less important devices (like smart TVs) to free up resources.
DSL Routers
- Older models might have basic QoS under “Advanced Settings.” Look for “Traffic Control” or “Bandwidth Management” to prioritize.
Step 5: Boost Coverage and Placement
Settings alone won’t fix a weak signal. Optimize your router’s physical setup:
- Placement: Keep it central, elevated, and away from walls, metal, or appliances (like microwaves).
- Mesh Expansion: If you’re on eero, add eero extenders ($99–$199) for larger homes. TP-Link users can pair with compatible Range Extenders.
- Firmware Updates: Check for updates in the app (eero: “Software Updates”; TP-Link: “System Tools”). Frontier pushes these automatically, but manual checks ensure you’re current.
Step 6: Troubleshoot Common Issues
Even with perfect settings, hiccups happen. Here’s how to fix them:
- Slow Speeds: Restart your router via the app or power cycle it. Test speeds with Ookla Speedtest to confirm.
- Dropped Connections: Switch to a less crowded channel or band. Ensure no nearby electronics interfere.
- Device Limits: Frontier routers handle 50–100 devices, but too many can strain performance. Disconnect unused gadgets.
Final Thoughts: Unlock Your Frontier Router’s Full Potential
Optimizing your Frontier router settings doesn’t require tech wizardry—just a few smart tweaks. Whether you’re rocking a Fiber 7 Gig plan or a basic DSL connection, adjusting Wi-Fi bands, securing your network, and prioritizing traffic can transform your internet experience. Take 15 minutes to log in, explore these options, and test the results. You’ll be amazed at how much smoother your streams, games, and calls become. Have questions or hit a snag? Frontier’s support line or app chat can assist. Now, go enjoy that optimized connection—you’ve earned it!
Dial (844) 340-6366 to Get Frontier Internet Connection Today!