How To Change Wifi Channel Xfinity?

Internet connection has become very vital in homes today for work, and entertainment among other activities, and therefore having a stable and fast WiFi connection is essential. Sometimes Xfinity internet users experience WiFi connection or speed problems which are quite annoying most of the time. This is perhaps one of the reasons why such problems may occur due to interference from other neighboring WiFi channels or even other devices within your own home. Switching the WiFi channel on your Xfinity gateway or router may help avoid interference and possibly enhance the signal strength. The following is a guide on how to change the channel for the Xfinity Wi-Fi connection.
What Does WiFi Channel Mean?
To begin with, it is important to know what a WiFi channel is. WiFi networks are deployed on certain Radio Frequency bands and Channel Lineups within the bands. The two widely known WiFibands are the 2.4GHz band and the 5GHz band. In those bands, there are several channels that WiFi networks use to transmit data the 2.4GHz band has 11 usable channels in the US while 5GHz has from 19 to 25 and more depending on the country.
This means that when more competing WiFi networks in your area are using the same channel it becomes congested leading to weak signals, slow Speeds, and connectivity issues. For instance, when switching to a less population channel, the interference is likely to be low hence improving the performance.
How to determine the current WiFi Channel Xfinity xFi App
If you want to see what WiFi channel your Xfinity gateway is currently using
1. On your smartphone or tablet, launch the Xfinity xFi app which is available for both iPhone and Android.
2. Tap the "Network" tab
3. Choose your home WiFi network
4. When you scroll down the list, you will find the current channel indicated under the frequency band; 2.4GHz or 5GHz.
This should show which channel your gateway has set itself to automatically. It is now time to describe how the channel change can be done manually.
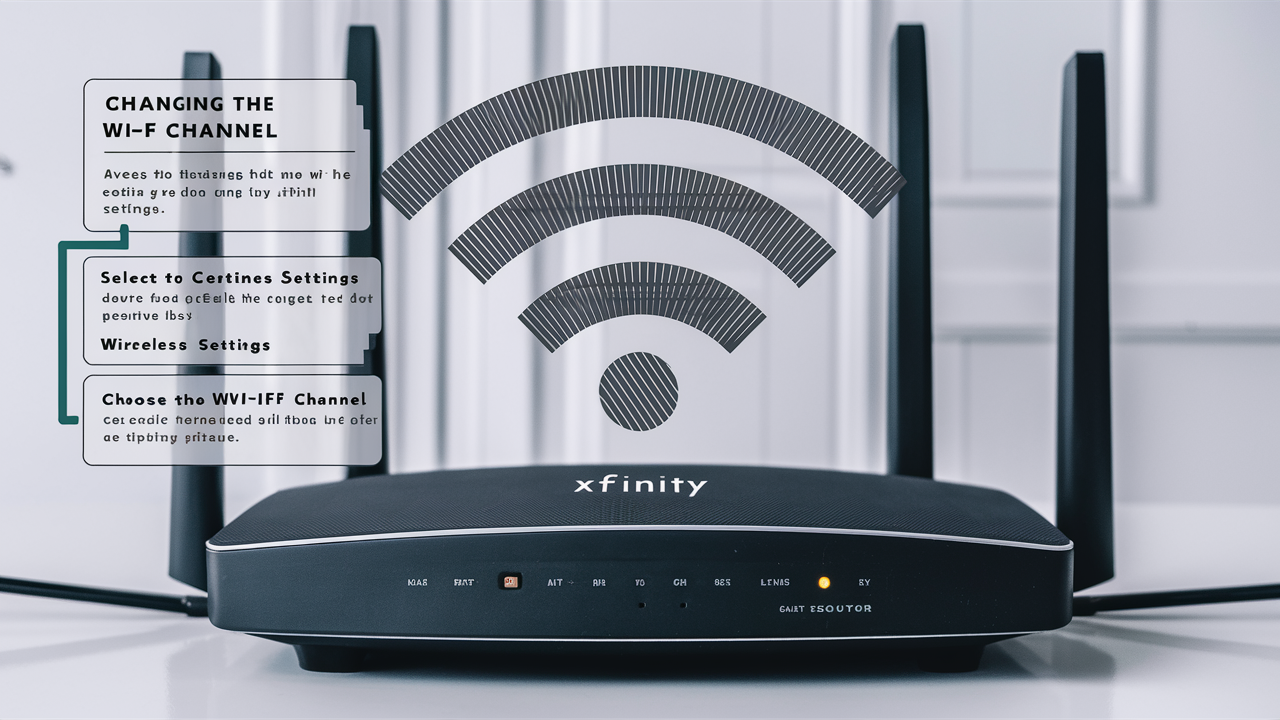
How to Change the WiFi Channel of Xfinity Gateway
Follow these steps to change the WiFi channel on your Xfinity gateway
1. Login to your gateway admin interface at http:>10.0.0.1 (you can use any web browser that is connected to the home network)
2. Please, kindly input your admin username and password.
These are usually set to “admin” by default for both unless you have set them in the past differently.
3. Choose the appropriate WiFi network on the home screen of the app, it can be either 2.4 GHz or 5 GHz.
4. Click the “Edit” button
5. In the channel setting, you will find a drop-down list box and click on it to choose an alternative channel.
- For 2.4GHz, the recommended channels are 1, 6, or 11.
- For 5GHz, consider 36, 40, 44, 48, 149, 153, 157, 161
6. After changing the new channel, click the “Apply” button to set the new channel.
Your gateway will now change your WiFi network broadcast and start using the new channel. It takes a couple of minutes for it to update across your network.
It is crucial to ensure that you do not select channels that are too close to other WiFi networks found within your region. The use of a WiFi analysis tool can assist in identifying the level of congestion within your environment on specific channels.
After changing the channel, examine the Xfinity Internet speed test and WiFi signals to discover any boost in service quality. Go on switching the channel if the problems resurface after some time. Also, make sure you update the firmware of your gateway from the current version of Xfinity to improve the connection.
Some Other Guidelines for Enhancing Wi-Fi Signal Strength
Changing the WiFi channel is useful but there are some other tips for better WiFi with your Xfinity Internet
- Also, place your gateway in a central location within your home to have the best WiFi coverage in all rooms.
- Minimise interference by avoiding placing home appliances near the gateway
- If necessary, buy a mesh WiFi system for complete home connectivity.
- Turn on Xfinity xFi Pods for Wi-Fi range booster (offered for Xfinity Internet subscribers only)
- Plug devices into wired LAN if possible rather than relying on the Wireless LAN
Following these steps to change the Xfinity gateway WiFi channel with the other wireless performance tips should go a long way in avoiding connectivity and speed problems. Experience wireless internet connectivity that is both, swift and dependable within your home!
Conclusion
Fixing issues with WiFi can be rather stressful, however, it is a task that is very much worth doing when one needs a faster connection and fewer disruptions. A very simple and easy way of eliminating what could be hindering your home wireless network is to change the channel of your Xfinity WiFi gateway.
Ensure that you learn what channel the neighboring networks are using and opt for a channel that none of them are using. If available, also use WiFi analysis tools to determine the cleanest channel. When accompanied by other connectivity best practices, channel optimization can do a lot in improving performance problems.
By following the above-mentioned steps, you can easily rename the Xfinity gateway channel through the admin interface in no time. With the extra wireless optimization tips, your whole home is going to have a good uninterrupted Wi-Fi signal..
Ready to elevate your home entertainment? Call us now at +1 844-345-0888 to explore the best Xfinity plans for your home! Enjoy fast internet and premium TV options. Don’t wait—get connected today!


