How To Port Forward With Xfinity?

Introduction
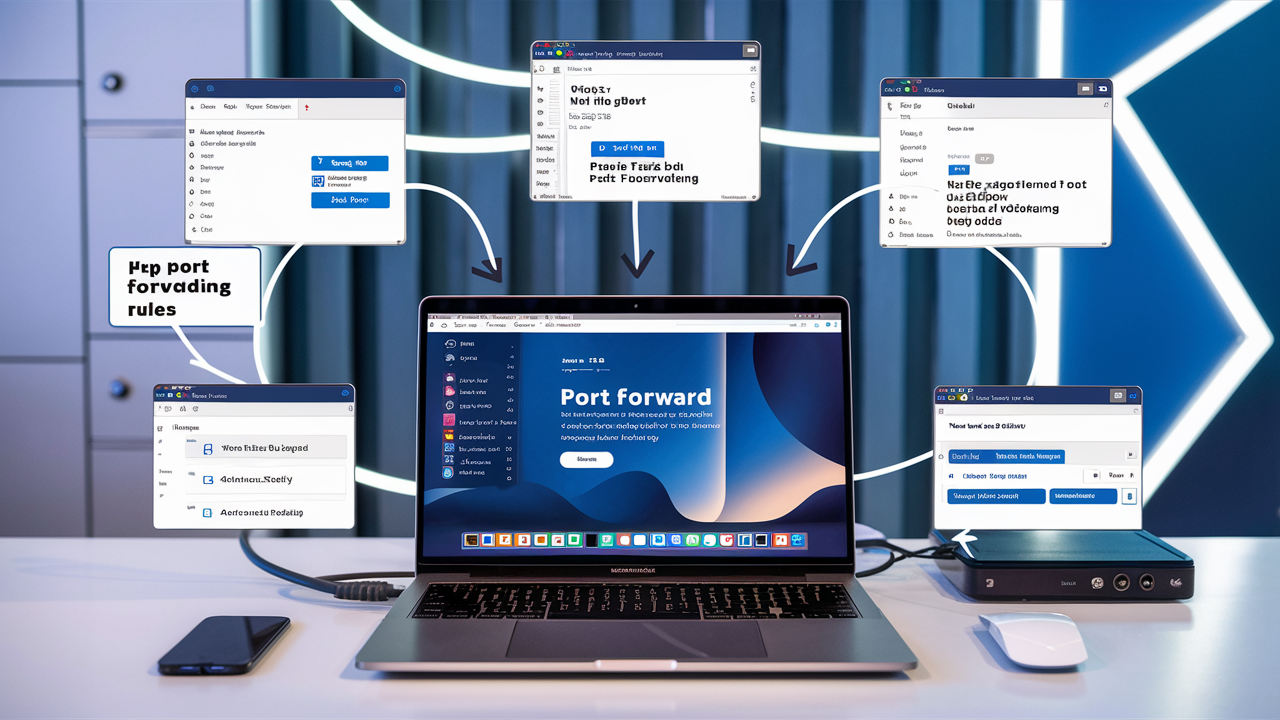
It's a mechanism allowing you to channel traffic from the internet to a certain gadget on your house network. Apart from other uses, it hosts servers, watches security cameras, runs online games, and performs other activities. To begin with, port forwarding is not a difficult operation, particularly in cases of an Xfinity router. This is a detailed and simple-to-follow explanation of how you may easily port-forward your Xfinity router.
Prerequisites
Before you start, make sure you have the following: Before you start, make sure you have the following:
- An Xfinity router, to which you have a login. This could be the Gateway router/modem combo you rented from your cable company or your own purchased router.
- The device you want to forward ports to connect to your home network. This will be a device such as a gaming console, server, camera system, etc.
- This is the local IP address of the device to which you are forwarding your ports. It should normally be listed under the connected devices tab of your router's management interface.
- The port(s) that need to be forwarded. Each of these is different depending on the specific application. Some of the most familiar ones are port 80 for HTTP connection, port 3389 for remote desktop, and port 1935 for RTMP streaming.
Step 1 – Logging in to the Xfinity Router Admin Console
To begin with, you have to get into your router’s web interface. Here's how:
1. Plug your computer into your Xfinity router using a cable – this will eliminate any issues that may arise from a Wi-Fi connection.
2. Open any web browser and go to http:>//10.0.0.1.< This is the default gateway IP address for the Xfinity routers if set manually.
3. For the password, input the router admin username and password that you set earlier. If you haven't changed them, the defaults are: If you haven't changed them, the defaults are:
- Username: admin
- Password: password
4. You are now connected to your router’s administrative interface. This is also where we can configure port forwarding.
Step 2 – Locate the Local IP Address of Your Device
Usually, forward ports to a particular device from a known local IP address in the network. Find it like this: Find it as follows:
1. On the Home page, review the Connected Devices list.
2. Find your device and note its IP address, shown in the table below. This starts with somewhere like 192.168.1.xxx.
3. You will use this local IP address when later on implementing port forwarding.
Step 3 – Go to Port Forwarding Settings
Port forwarding comes next after you have set your local IP address.
1. Go to the “Advanced” section that can be found at the top of the page.
2. Go down the Connections option and then choose Port Forwarding.
3. This takes you to the port forwarding configuration page. From here, you can add new port forwards and edit existing port forwards.
Step 4 – Create a New Port Forwarding Rule
To create a new port forward: To create a new port forward:
1. Click the “Add” button.
2. In the Name field, type in anything you’d like to describe this rule.
3. In the Private IP Address field, please enter the IP address of your device, which we identified in the beginning.
4. Choose the Protocol which may be TCP/IP or User Datagram Protocol. If unsure, it is advisable to get in touch with the manufacturer of the device in question.
5. Please input the External Starting Por,t which is required to forward.
6. If there is this range, then enter the External Ending Port number. Otherwise, leave it blank.
7. The Internal Starting port must be equal to the External Starting port, rt, and the Internal Ending port must be equal to the External Ending port.
8. Check Enabled to set the rule on. ’
9. To do so, click on the Apply button once you have inputted all the necessary information.
Okay, the new port forwarding rule is saved. Perform these steps again to add additional rules if necessary. The router will then be tasked with routing that traffic when it receives it from the internet on its own.
Check and verify the test Port Forwarding Process.
To confirm your port forwards were configured correctly and are active: To confirm your port forwards were configured correctly and are active:
1. Access a website like YouGetSignal.com and type the ports that are closed from the public internet.
2. Try to test the availability of your forwarded services from another network using a computer that does not connect to the home wifi. For instance, from an LTE cellular data or a friend’s house.
If you have your ports open externally then good for you! Port forwarding is fine through your Xfinity router. Love getting connected to your home network services irrespective of location.
Conclusion
And that’s it! In a few steps, you scan port forwarding rules for high-speed internet routers. It will allow external traffic to be forwarded to specific devices on your internal home network. With the basics out of the way, it is possible to configure specific port forwards for games, Web servers, security cameras, VoIP, remote desktops, and much more.
Call us today at +1 844-345-0888 to discover the best Xfinity plans tailored for you! Don’t miss out on fast Internet, great TV options, and unbeatable customer service. Get started now!


