How To Port Forward Xfinity Router?

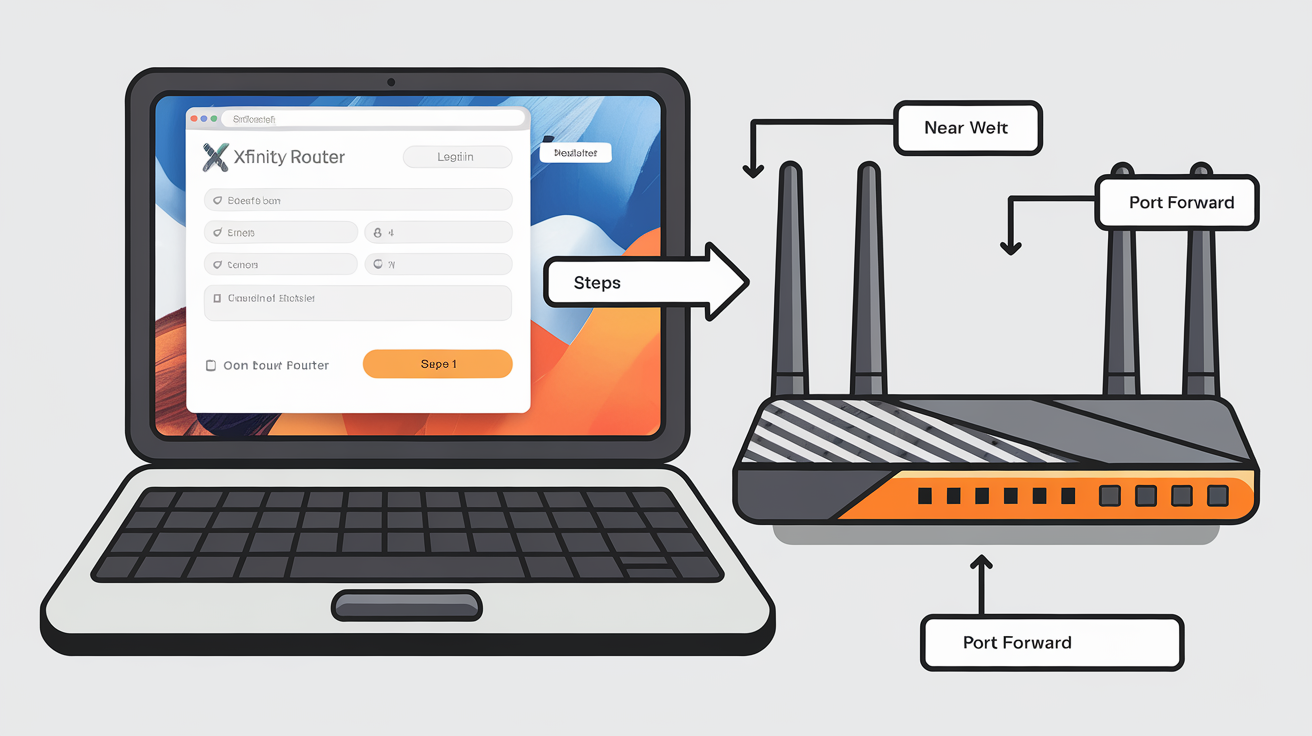
Configuring the Xfinity router's firewall to allow certain ports for access by devices from outside your network is known as port forwarding. This might include setting up servers, ensuring that certain games and apps work without problems, or connecting to equipment like security cameras without being nearby. Most Xfinity routers make port forwarding not too difficult; here is a detailed walk-through guide: Most Xfinity routers make port forwarding not too difficult; here is a detailed step-by-step guide:
Introduction
Online gaming, server hosting, security cameras, and many more pursuits requiring direct Internet connectivity find use here as well. Most routers by default are set up to shut down the ports, so opening the ports is necessary to make these kinds of apps operational from outside the house network.
Though the method varies somewhat based on the Xfinity router type you choose, the fundamental ideas remain the same. Let me walk you through the process of accessing the router's administrative interface, locating the port forwarding settings, specifying the port number or numbers you wish to forward, and the internal IP address of the device that should receive the forwarded ports, and so applying the changes.
Prerequisites
Check to be sure you have the following before beginning: Check you have the following before beginning:
- The Xfinity router's model number and the current admin password used to access the router settings page (the default is admin/password or admin/administer but you may have changed it).
- This is the IP address of the device in the local subnet that you are forwarding ports to. This you can often find in the settings of the device in question.
- The external ports that should be open to allow TCP/IP traffic. Some of them are dependent on the application/game/device in question and should be listed and explained in the documentation of the respective application/game/device.
How to access the router admin page
The initial step is to get a route to your router’s administrative console. Here's how:
1. You should connect your computer directly to the Xfinity router using an ethernet cable.
2. Open any web browser and access the admin screen by going to: Open any web browser and access the admin screen by going to:
- 192.168.1.1
- 10.0.0.1
3. If needed, you will be prompted to enter your admin login and password. If you never set one, the defaults often are: If you never set one, the defaults often are:
- Username: admin
- Password: password OR admin
4. Should the login be successful, you will be able to access the admin panel of your router as well as the menu. This is where we will configure port forwarding.
Find the Port Forwarding Section
It has been established that the arrangement of the port forwarding settings can be concealed in different places depending on the model of the router that is being used. But they usually can be found under: But they usually can be found under:
- NAT/QoS
- Security or Firewall Settings
- Advanced Settings
- Gaming Region
- Port Forwarding specifically
There should be a list of applications and games that are installed and a space to type new entries. The latter is what we need to build our world and set up our laws, and our guidelines.
Port Forwarding is one of the most exciting features that allow users to forward ports for different applications enabling internet connectivity.
The steps to add a custom port forwarding entry are: The steps to add a custom port forwarding entry are:
1. Navigate to the “Add Custom Service” or “Add Custom Application” part.
2. In the field named “Service Name” or “Application Name,” type any name you wish to assign to this rule. For example "Security Camera".
3. In the Internal IP field, input the internal IP address of the device for which the ports have to be open. If you do not have the IP address, it is usually available in the settings of the device that you desire to scan.
4. Choose the external port you want to open under the Port Range field. This is the port(s) used by the application through which you want to allow access from outside your home.
5. In the Internal Port field, type in the same port or a range of ports that is identical to the External Port.
6. In the Protocol Type and Internal IP Protocol, select TCP, UDP, or Btoh by the requirements of the device.
7. Set any other options to their standard and then click on Save or Add.
The entry should now appear in the forwards list! Apply the changes.
Check That Ports Have Been Opened Correctly
To confirm everything worked:
1. Ensure that the device that requires port forwarding is connected and switched on, and then attempt to access it from outside the local network. Therefore, when forwarding to a security camera app, attempt to open the app using cellular data and not the home Wi-Fi.
2. If you can now enter the device/app/game from the outside home internet connection, the ports have been successfully opened!
3. If still not working, you may want to check that the IP address used is correct for the device, the ports are correct for the app/hardware and the protocol type is correct.
Troubleshooting Issues
Here are some tips if you're having trouble: Here are some tips if you're having trouble:
- In case you’re running a firewall or any other security software on the target device, try turning it off for a while. There are security programs that will prevent the forwarding of ports.
- Try power cycling modem + router if certain settings do not seem to be retained.
- In In case, of such circumstances, you should factory reset the router and start over again. Besides, write down the custom admin passwords before you are locked out of your system due to forgetting them.
- If router firmware or settings are suspected to be the problem, the consumer should get in touch with Xfinity support.
- For gaming consoles, for instance, it is recommended that one use a wired connection as opposed to wireless connections where possible.
Conclusion
Well, that’s about as deep as I want to get heading into port forwarding for an Xfinity router! It is the same for most models, but their procedures are slightly different, and below is a general generic procedure. Turning to the router’s admin page, locate the port forwarding option, input the IP address of your device and all necessary ports, and make sure to save the settings. If things get messy, do not hesitate to factory reset your router. Port forwarding may appear to be more complicated than it is in actuality. The only requirement for getting a custom entry set is that you have to have the right ports and target IP address for your application. Do not hesitate to contact us if you have any further questions!
Call us today at +1 844-345-0888 to discover the best Xfinity plans tailored for you! Don’t miss out on fast internet, great TV options, and unbeatable customer service. Get started now!


