How To Program Xfinity Xr2 Remote To Tv?

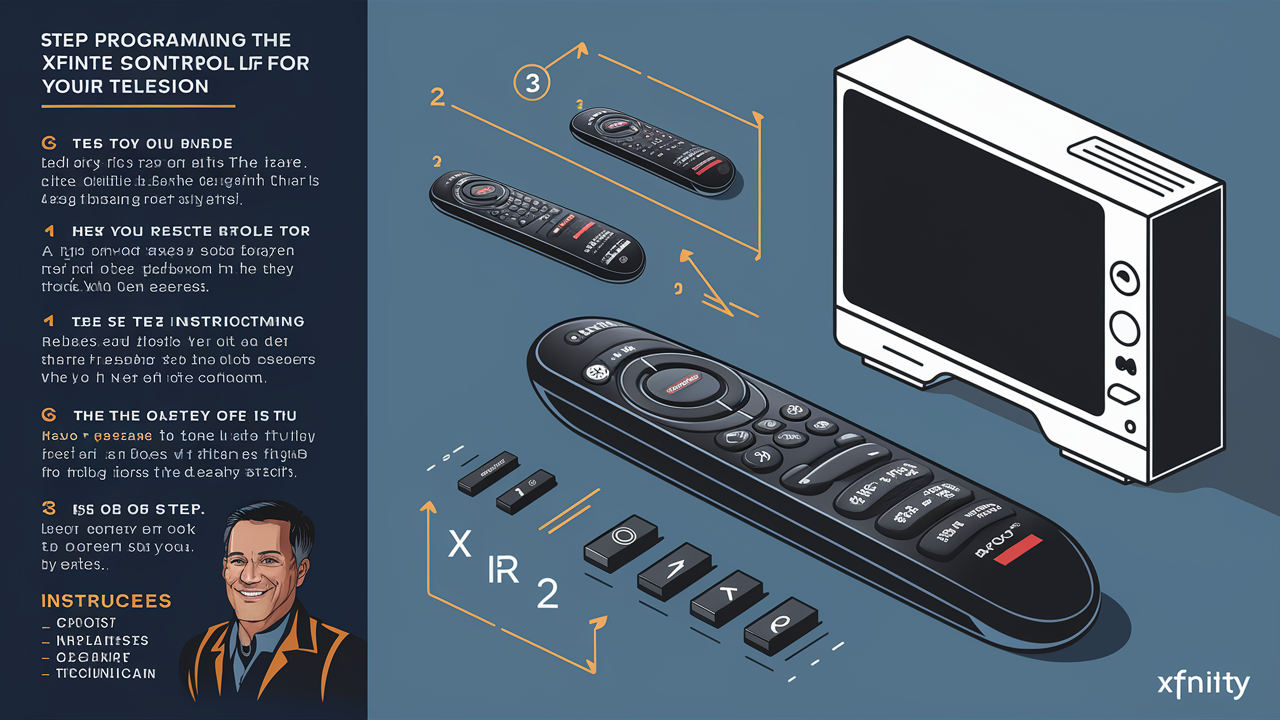
Fortunately, the process of programming the Xfinity XR2 to work with your television is quite simple and can be completed in a few minutes. Here is a step-by-step guide to walk you through programming the remote: Here is a step-by-step guide to walk you through programming the remote:
1. Turn on Your TV
It is essential to have your TV turned on before you start programming your Xfinity Remote. The remote uses infrared beams to control your TV and it must be able to send and receive these beams to synchronize appropriately. The good thing is that it will not allow you to proceed with the programming process if your TV is off.
2. Find out the Code for Your TV Brand
On the reverse side of your XR2 remote control, there is a list of the TV brands on multiple pages. Scroll until it reaches the brand name of your TV. Absolutely all the major manufacturers will be included but if you own an off-brand or a lesser-known TV model, there may not be an available code for it. If that is true, you will have to resort to code search instead – which is covered in the next section.
3. Press and Hold the Setup Button:
After obtaining the brand code in your TV, press the circular setup button that is adjacent to the top of the remote and hold it for around 3 seconds. The button will emit a yellow light when pressed and remains off when not in use. This places the remote into program mode and makes it ready to program your television.
4. Enter the 3 or 4 Digit Code
For the entire time that you are holding down the Setup button, use the number keys for inputting the 3 or 4-digit code for your TV brand. You have to be quick here and enter the code in one go without any breaks between numbers, or the remote may exit the setup mode. When you have input all the code press the Setup button and the LED will blink once to show that the code has been set.
5. Test Out TV Volume Control
To ensure that the XR2 remote is properly programmed to operate a TV’s volume level, test the Volume buttons. You should get a response on the volume indicator bar of your TV as you press the Volume Up or Volume Down button. If the volume does not respond, it implies that the remote code did not work. Perform steps 2-4 again and ensure that you have the correct 3 or 4-digit code displayed according to your TV model.
6. Code Search Procedure (If ever necessary).
If your TV brand is not on the list, then you will have to do a manual code search where you have to go through possible codes systematically to see which of them will work. Push Setup while holding down on the Channel Up or Down buttons until your TV turns off. Press Channel Up to reactivate your TV then try the Volume buttons to check if your remote works with that tested code. Do this until you get a passing code. It may take cycling through many codes but there are only a set number of infrared codes for TV brands so one will eventually match your remote to the TV. The remote will save the working code for you automatically.
By following these steps, it will be possible to program your XR2 remote in a way that allows you to control the power and volume of the TV with the one Xfinity remote that you have been issued. By programming your remote, you can leave your TV remotes in a drawer and only rely on your XR2 to handle set-top box navigation and other basic TV operations.
However, if after following the steps above to program the remote to the TV, the remote still does not work, the user should contact Xfinity Support. You may get a technician to explain all the procedures required to have everything working to optimum to enjoy your cable X1 experience.
Thank you for reading this guide, and I hope it has been informative in explaining the remote programming of the Xfinity XR2 remote. Feel free to ask any other questions that may be arising in your mind.
Call us today at +1 844-345-0888 to discover the best Xfinity plans tailored for you! Don’t miss out on fast internet, great TV options, and unbeatable customer service. Get started now!


