How To Set Up Xfinity Wifi Modem?

It is crucial to have your Xfinity wifi modem configured correctly to enable you to connect all your devices to the internet and enjoy the speed. In this guide, we will explain how you can quickly set up your Xfinity modem for your home wifi network.
Items to Get Before Connecting Your Modem The first prerequisite before connecting your modem is to ensure that you have the following items.
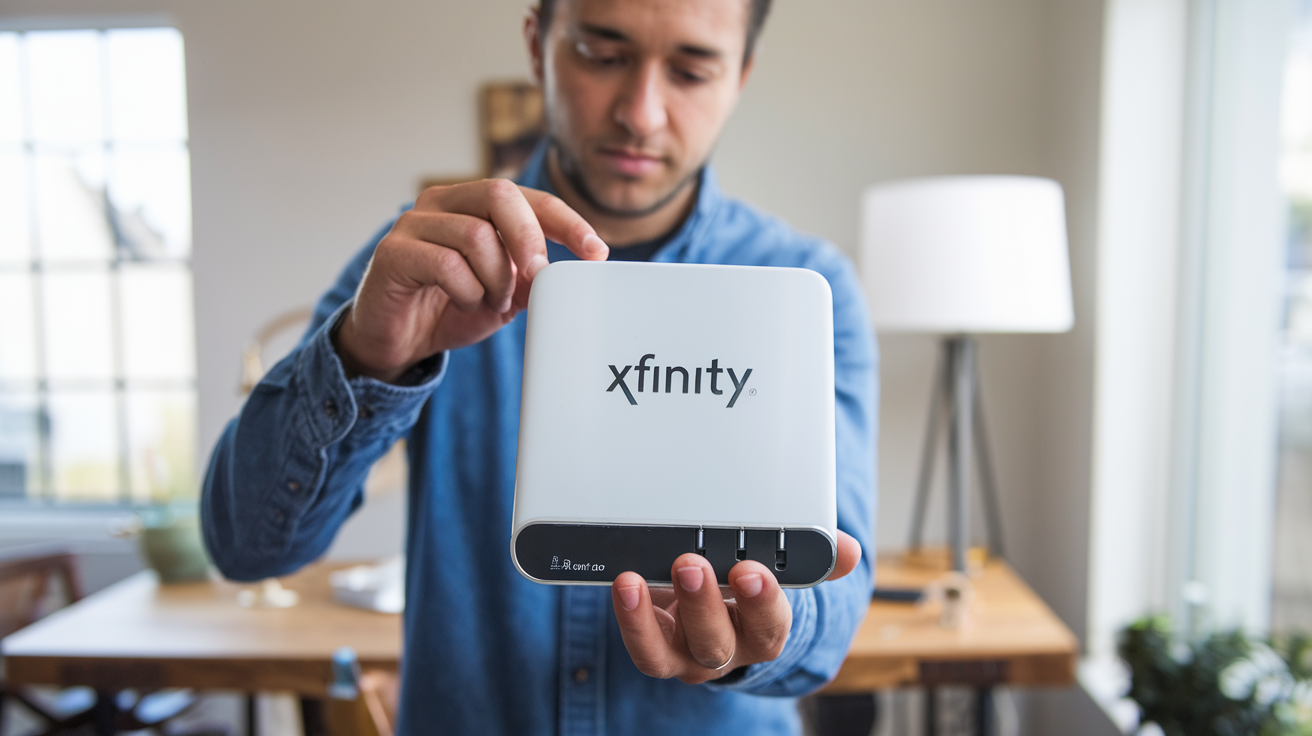
- Xfinity Modem – This is a modem that Xfinity offers to their customers when subscribing to their services. Some of the models include the XB6 and XB7 gateways.
- Coaxial Cable – This is the thick cable that you connect your modem to the cable outlet on the wall and it transmits the internet signal. Ensure that you have a cable that is long enough to establish the connection.
- Computer or Mobile Device – During the initial setup of the device, you will require a connected device to run the setup software.
- Xfinity Account Information – At the time of the call, have your Xfinity account number and home phone number handy.
Connecting the HardwareThe first step is connecting all the hardware
1. Select a location within the house or unit where the coaxial wall connection is easily accessible and does not come in contact with thick walls or metallic items likely to obstruct WiFi signals. Small children should not be allowed to reach the object as it hangs so, therefore, it is best to place it at heights such as on the high shelves or walls.
2. Plug one end of the coaxial cable into the cable port in the wall. Check that the connection is tight.
3. Screw the other end of the same coaxial cable to the cable terminal on the back of the modem labeled as “Cable” or “Coaxial”. Once more, make sure that the link is strong.
4. Connect the power cord of the modem to any socket. Ensure it is always connected to a power source and is not in contact with a switch that would be easily turned off.
5. Wait until the modem automatically powers on its own. You want to make sure to dedicate at least two minutes to it. The modem has lights that are meant to show when the modem is ready to be connected. At first, the lights will blink and when it connects to the internet, the lights will become steady. As for the lights, consult your modem manual for the details, although it will usually flash two green lights when connected and fully operational.
Connecting to the Modem Software for the Wi-Fi setup
Now that all the hardware is connected, you need to access the software
1. From your computer or any mobile device, go to your browser and search for and connect to the temporary WiFi network that the modem created. The default network name and password should be written on the modem or attached to the modem user manual.
2. After the connection, one can simply launch any browser and in the URL section type in, setup.xfinity.com. This leads you to the Xfinity application where you can set up your home wireless connection.
The next step of any new Xfinity WiFi setup is to properly configure your new Xfinity Wifi network.
Follow these steps to configure your personalized Xfinity wifi
1. Sign in with your 10-digit Xfinity account phone number and account PIN or password.
2. Select the modem’s name that is listed on the My Devices page.
3. Go again to the Setting app and click the Wireless Settings under the left sidebar menu.
4. Customize your Network Name and your unique WiFi password. This is much safer if one has a custom name and password.
5. Make sure the security Type is on WPA2 since it offers the best security if your device does not support WPA2, then go for WPA. You can then select either WPA or No Security if the former two do not suit your needs.
6. Choose an exclusive network key that is easy to remember for everyone. Select WPA2-PSK as the security and set at least 8 8-character passwords with numbers, letters, and symbols included.
7. Click on save to save the new wifi network setting.
The next step you should take is to connect your devices to the new wifi.
After saving the settings, you will need to reconnect devices to the new wifi network name using the wifi password you just created
1. On your computer or mobile devices, go to the list of available Wifi networks and then connect to the wifi Network Name that you have configured in the Xfinity software setting.
2. When prompted, input the new unique Wifi Password.
3. Follow the same procedure for connecting to the wifi network for all your devices.
4. Check your internet connection by performing a speed test on devices to ensure that the internet connection is active and speedy.
You can now connect all your home devices to your new fast Xfinity wifi network. If there are any problems regarding connecting the devices on your home network using the new modem, you need to contact Xfinity customer support. Common solutions when having connectivity problems are to restart the modem and devices, make sure that the correct password has been entered, check other devices for connection confirmation, or use wires for connectivity check.
Call us today at +1 844-345-0888 to discover the best Xfinity plans tailored for you! Don’t miss out on fast internet, great TV options, and unbeatable customer service. Get started now!


